Attic Services
Attic Too Hot? How to Insulate Ductwork in an Attic
September 29, 2022
Ducts traveling through an attic are inefficient and can add as much as 25% to the cooling load of your HVAC system. Leaky ducts waste cool air and will increase your energy bill.
An obvious strategy would be to air condition the attic, but that isn’t always possible and can be expensive. So, what options do you have when you have HVAC ducts in a hot attic? The following strategies will improve your ductwork and increase your home’s energy efficiency.
1. Install a Radiant Barrier
Radiant heat is heat absorbed by materials inside your attic, including insulation. The stored heat is then released into an already warm interior, making it hotter than the outside ambient temperature. Trapped heat will eventually radiate into your home and make your HVAC work harder.
A radiant barrier is a reflective surface that bounces radiant heat out of your attic back out into the atmosphere. Once installed, radiator barriers use no added energy or resources and are compatible with other duct improvement methods.
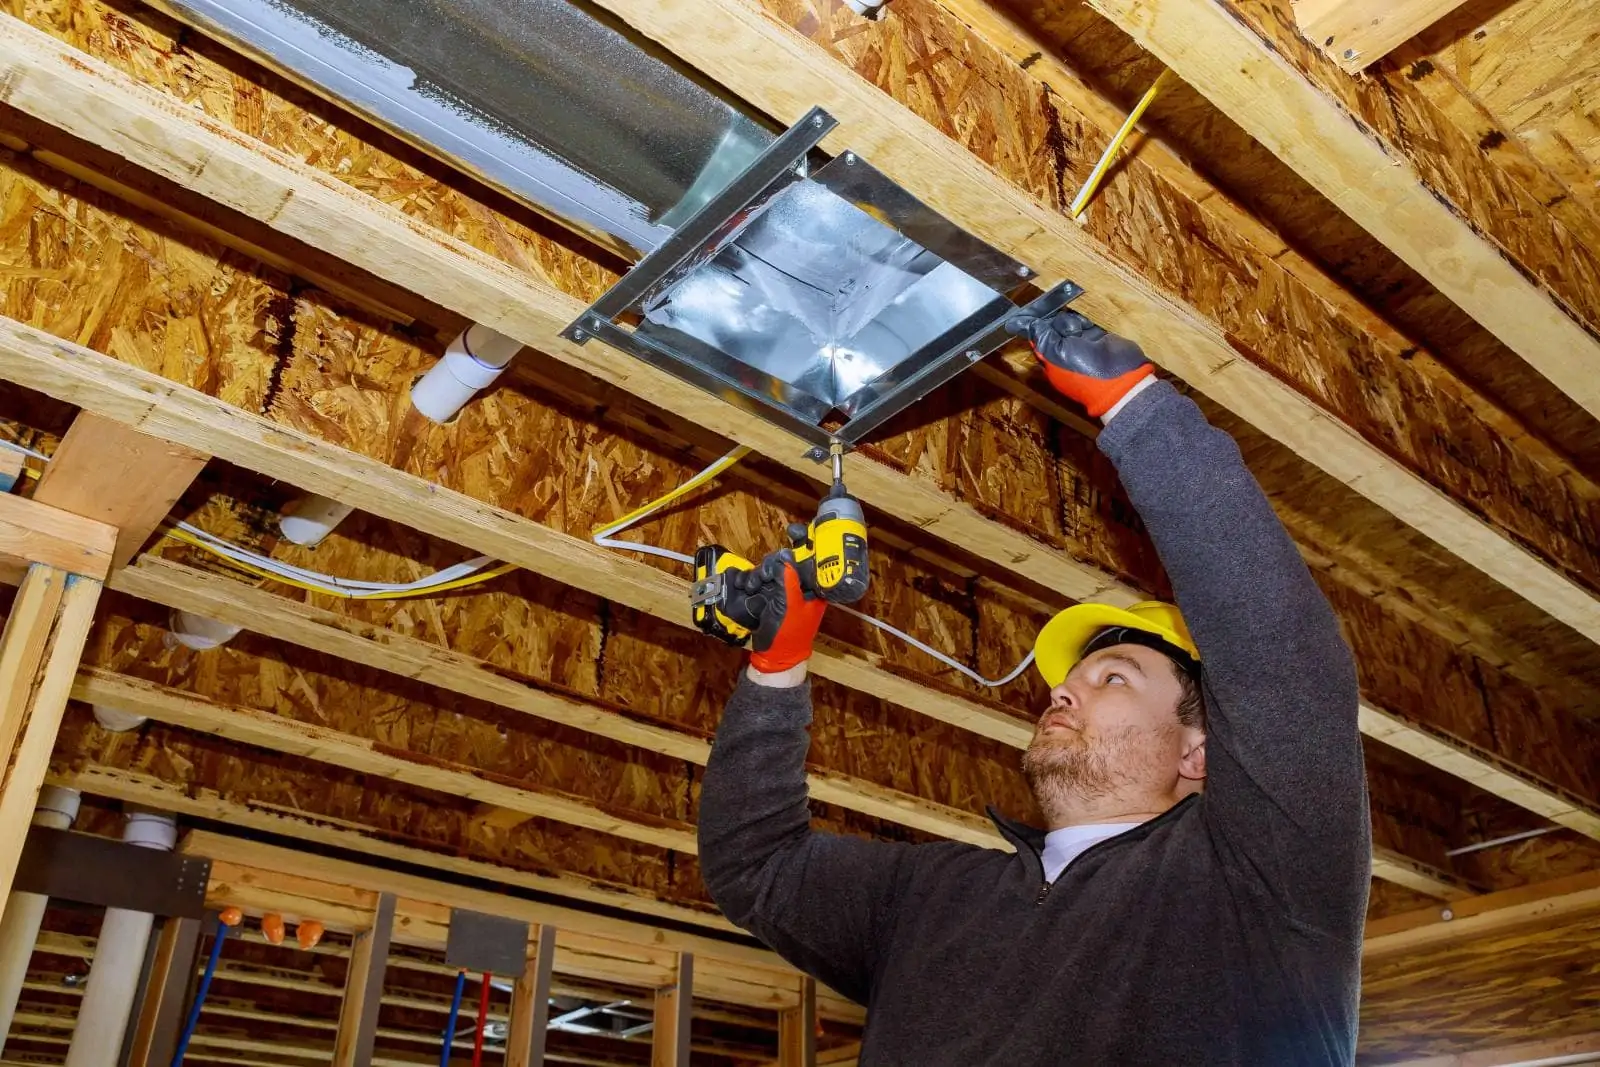
2. Insulate the Air Ducts and Air Handler
As the sun heats up your roof, the roof cavity will reach temperatures much hotter than outside. Insulation prevents a lot of heat transfer into your home through the ceiling. However, there’s no barrier to prevent heat transfer into the interior of your ductwork if it’s not insulated.
While many people insulate their attics, the heating and cooling ductwork is often neglected. Standard duct insulation is available, but only to R-8. If you live in a dry climate, you can cover the ducts with blown attic insulation. In IECC climate zones 1A, 2A, and 3A, the building code allows you to bury your ducts in insulation.
You can wrap fiberglass insulation around your ductwork. Use a square and utility knife to cut the sheets to size so they fit around the duct without needing compression.
Use metallic foil duct tape recommended by attic insulation professionals to seal the insulation and hold it in place. Check your work to make sure there aren’t any gaps that could allow moist air to penetrate the insulation and cause condensation.
3. Increase Air Velocity Inside the Ducts
Slower moving cold air is preferred because it reduces airflow resistance. Unfortunately, the longer that HVAC-cooled air stays inside your ducts, the more radiant heat it will absorb.
Increasing air flow velocity might be a reasonable trade-off. Heat is transferred across a greater volume of air to reduce the heat gain across each cubic foot.
4. Install Ducts Away From the Roof Deck
The underside of the roof is always the hottest part of the attic on a warm, sunny day. If you want to understand how hot it can get up there, try holding your hand against it around midday.
It’s difficult to fathom why some construction companies run duct work by strapping it directly to the roof deck. Install your ductwork close to the floor to keep it separated from the warm air.
5. Run Ducts Low in the Attic
On a typical summer’s day, the interior of an unconditioned attic can reach temperatures of around 120 degrees Fahrenheit or higher. However, attics are never uniformly hot. The hottest areas are up close to the roof deck, with the temperatures dropping the closer you get to the floor.
A duct system in an attic can be insulated with the same insulation used for the attic floor to reduce heat transfer.
6. Install Ducts in Conditioned Space
Installing ducts in conditioned air spaces is one of the most efficient options if it’s reasonably possible. Ducts located between floors, in dropped ceilings, or in a sealed and insulated basement, crawl spaces, or attic will be cooler and more efficient.
7. Install a Horizontal Air Handler
Most air handlers are installed vertically, but horizontal installation can improve your air conditioner’s efficiency. Vertical air handlers raise the supply ducts higher, where the air is warmer. A horizontal air handler keeps the supply ducts close to the floor where temperatures are lower.
8. Seal Your Ducts with Mastic
The U.S. Department of Energy estimates that the average home loses up to 30% of airflow because of leakage. That’s a lot of cooled air you’re missing out on that your HVAC system has to replace.
You have a couple of options for air-sealing ducts in the attic: tape or mastic. Tape is a popular and affordable choice, but its main drawback is that it breaks down and loses adhesion over time. Mastic, on the other hand, is a permanent solution that won’t degrade or lose adhesion.
Mastic is not always perfect, though. It can be difficult to know if you’ve blocked all leakage after you’ve painted it on. Getting mastic into cracks and crevices can be challenging, if not impossible. Air leakage may return if your ducts shift and crack the mastic duct sealing, or you have to move them.
You may get globs of mastic inside your ducts when sealing large air leaks. This situation might cause air quality issues if you use a mastic brand that is not rated zero VOC.
Because mastic does not work in every situation, most attic insulation professionals will use a combination of tape and mastic. Use mastic tape to get the best of both worlds, but even this can rip and tear.
Call the Attic Professionals
Improving the ductwork in your home’s attic is a big and challenging job best left to the bay area attic insulation professionals to ensure nothing gets missed. Call Attic Pros today to find out more about how you can improve attic ducts and your home’s energy efficiency today.
